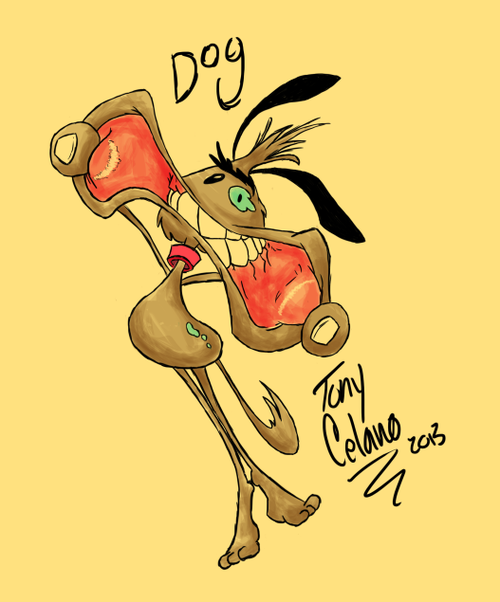
Some people around the office have asked me about how I make illustrations. I figured I’d break down my technique and show you all how you can go from a simple idea on a napkin, to a full-colored piece! One of my latest works will serve as an example. Everyone, meet Fuzzy Ferndale the dog!
Yeah, I don’t pick the best names. But he was first conceived as a fuzzy Dr. Seuss-esque character on a napkin at a Denny’s. If I still had the napkin, you’d see it here. But I opened up photoshop and went to work with my drawing tablet. I sketched out several head shapes.
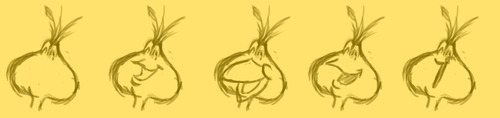
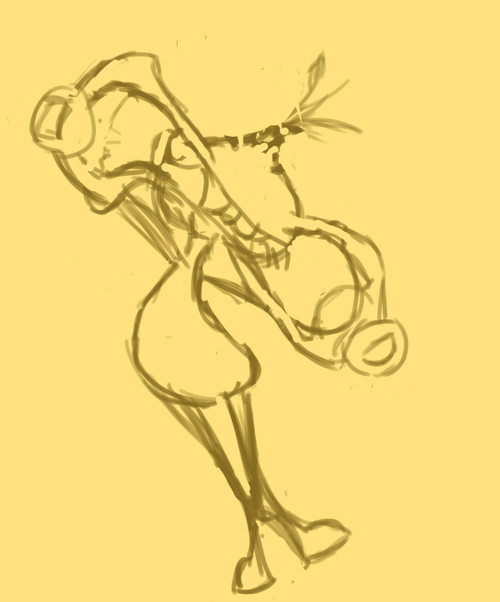
Smiles, weird smiles, and even weirder beaks galore. I usually fill the digital canvas with a color to keep me in the mood to draw out the entire character. That’s why the background is a warm yellow. Even with all the awesome tryout sketches, I ultimately decided to go with something entirely different—a dog making a funny face. I started to sketch that out.
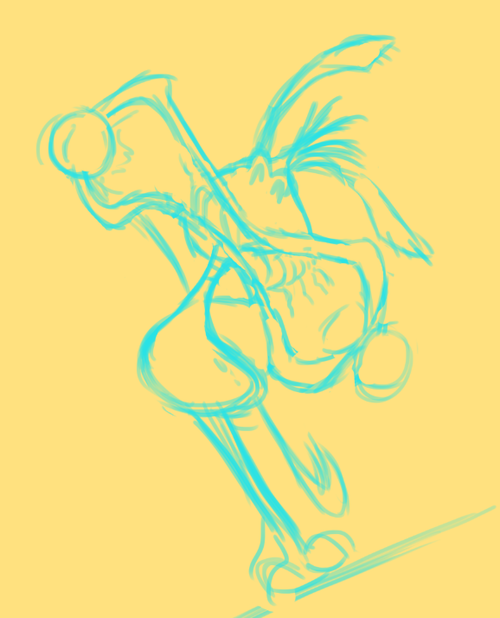
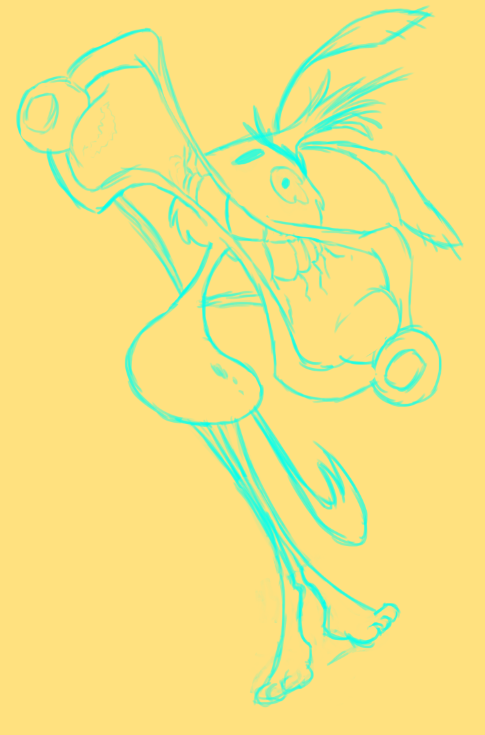
Then I went in with a blue color for a more thorough sketch. Traditionally, blue is used for sketches because when photocopied, the blue wouldn’t show up. The final dark lines would be inked on top of the blue lines and when scanned, yields a beautiful result. Even though this is photoshop, I still use the blue method.
I go in once more with more detail.
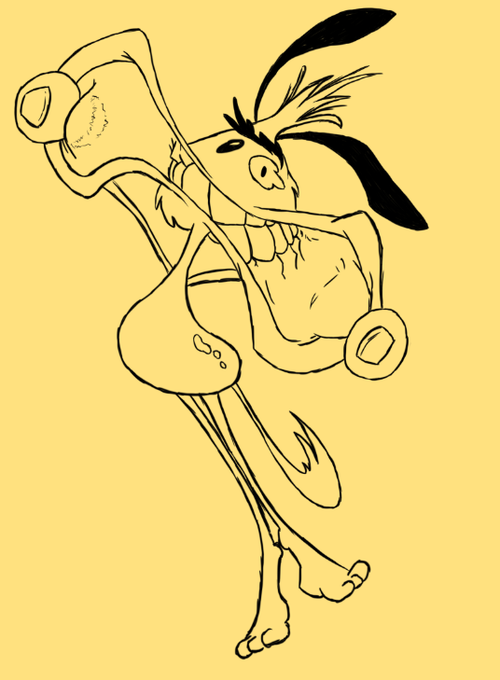
Then I add the final lines. It looks great if I do say so myself!
Now let’s add color for fun. I’d like to do a watercolor pattern. And voila! It’s complete! Here’s a little video compilation of the process.
I hope you learned a bit, and use this method to make some awesome illustrations of your own! Try it out, and post it as a comment under this blog!